

How To Draw A Peach
There are many delicious fruits to enjoy on a hot Summer day, but some are definitely even more refreshing than others!
A juicy peach is always a great option for a refreshing treat, but despite its simple structure, it can be harder than expected to learn how to draw a peach.
Worry not, however, because you're in exactly the right place to learn how to overcome this challenge!
By the end of this tutorial you'll know exactly what to do to draw this popular fruit.
Why not grab a delicious peach to munch on as you enjoy this guide on how to draw a peach in 6 easy steps?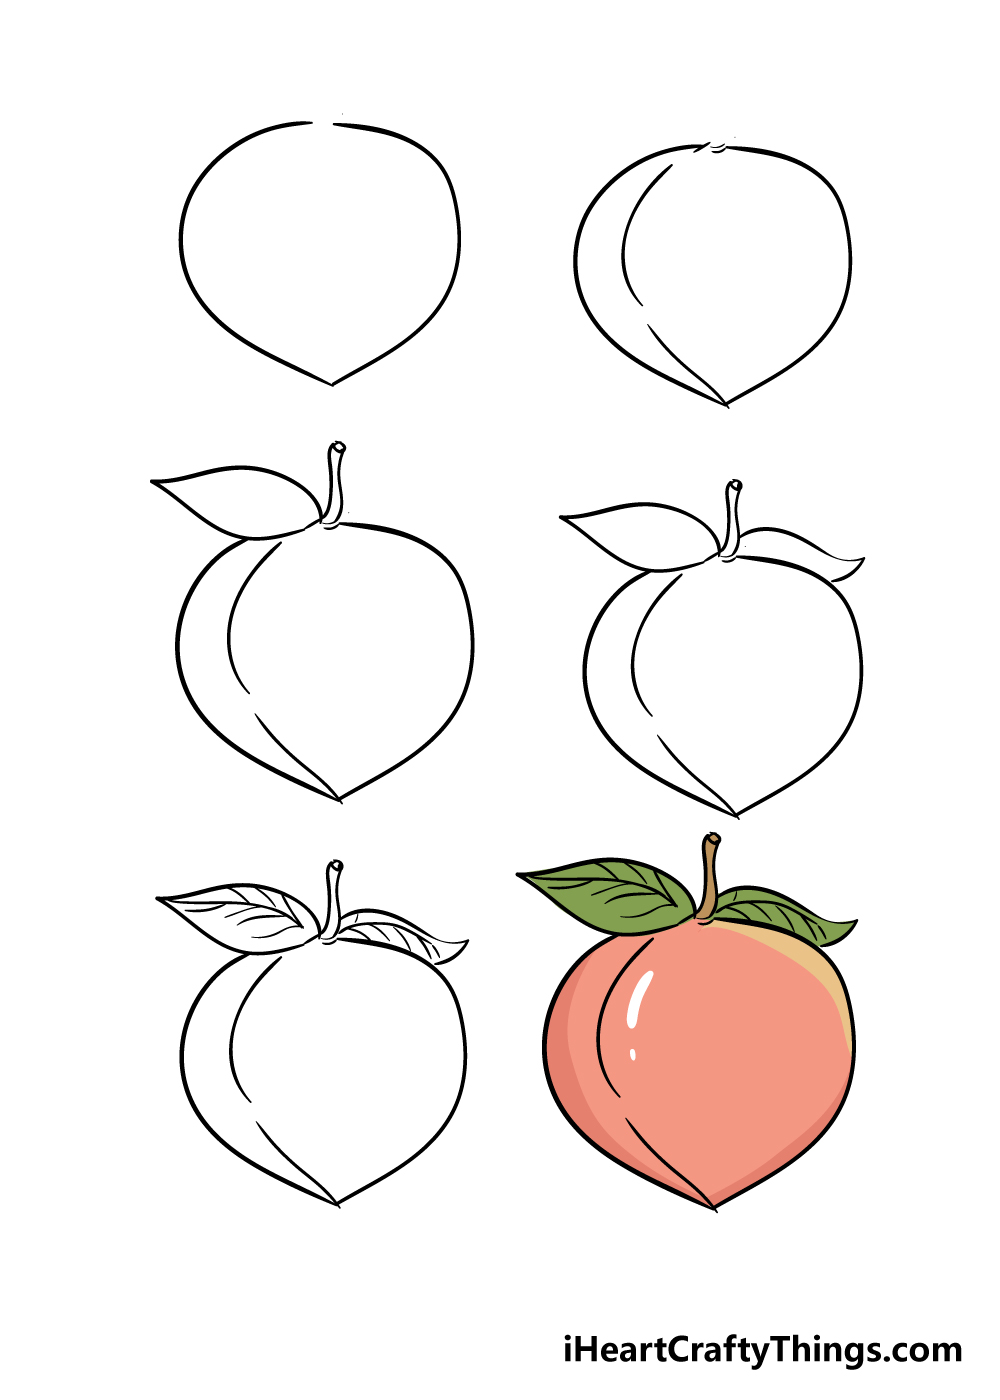
What's in this Blog Post
- How to Draw A Peach – Let's Get Started!
- Step 1
- Step 2 – Start drawing the divide of the peach
- Step 3 – Now, you can draw the stem and first leaf of your peach
- Step 4 – Draw another leaf for your peach drawing
- Step 5 – Add some final details to your peach drawing
- Step 6 – Finish off your peach drawing with some color
- Your Peach Drawing is Complete!
How to Draw A Peach – Let's Get Started!
Step 1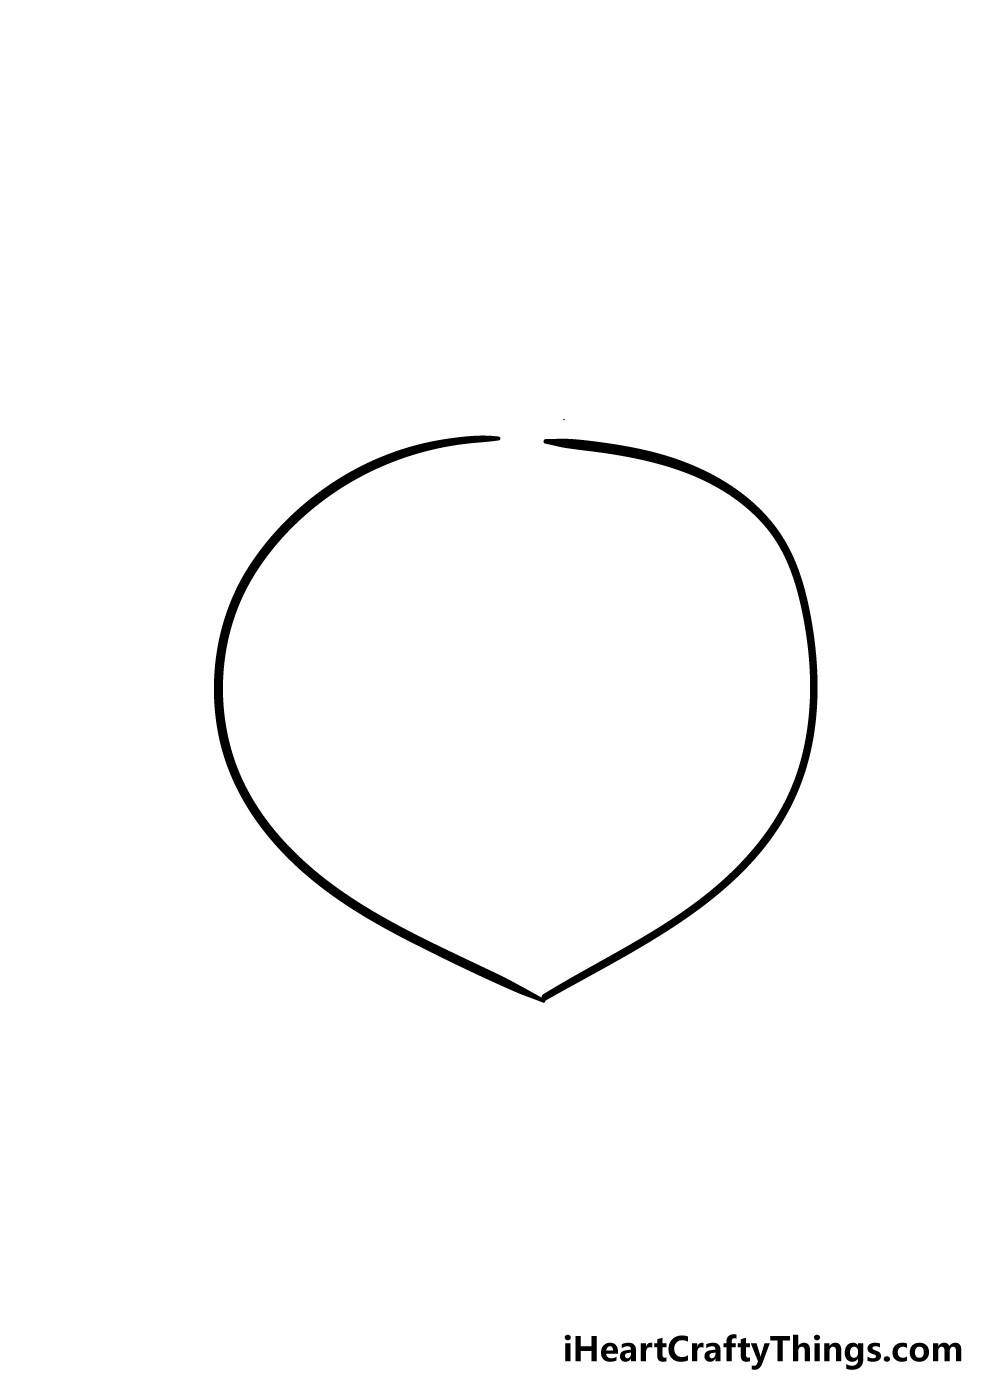
A peach is recognizable for its rounded shape with a sharp point, so we shall start that shape outline in this first step of our guide on how to draw a peach.
The sides of the peach will be very curved and rounded, almost as if you were starting to draw a circle. There will be that point that we mentioned before at the bottom, however.
Also, you should be sure to leave a tiny gap at the top of the peach, as this is where we shall be adding some leaves a little later.
Step 2 – Start drawing the divide of the peach
Peaches are not perfectly smooth orbs, and they have a small divide dip in them. You can draw that small dip in this step of your peach drawing.
It may be tempting to draw a line going all the way down the peach, but it will actually be broken up into several lines.
First, you can draw some small line detailing near the gap that you left at the top in the previous step.
Then, you can draw a curved line extending from just below that gap detailing until just halfway down the peach.
Then, leave another small space and then draw another line going down until the tip of the peach. That's all there is to it for this step, and now you're ready to move on!
Step 3 – Now, you can draw the stem and first leaf of your peach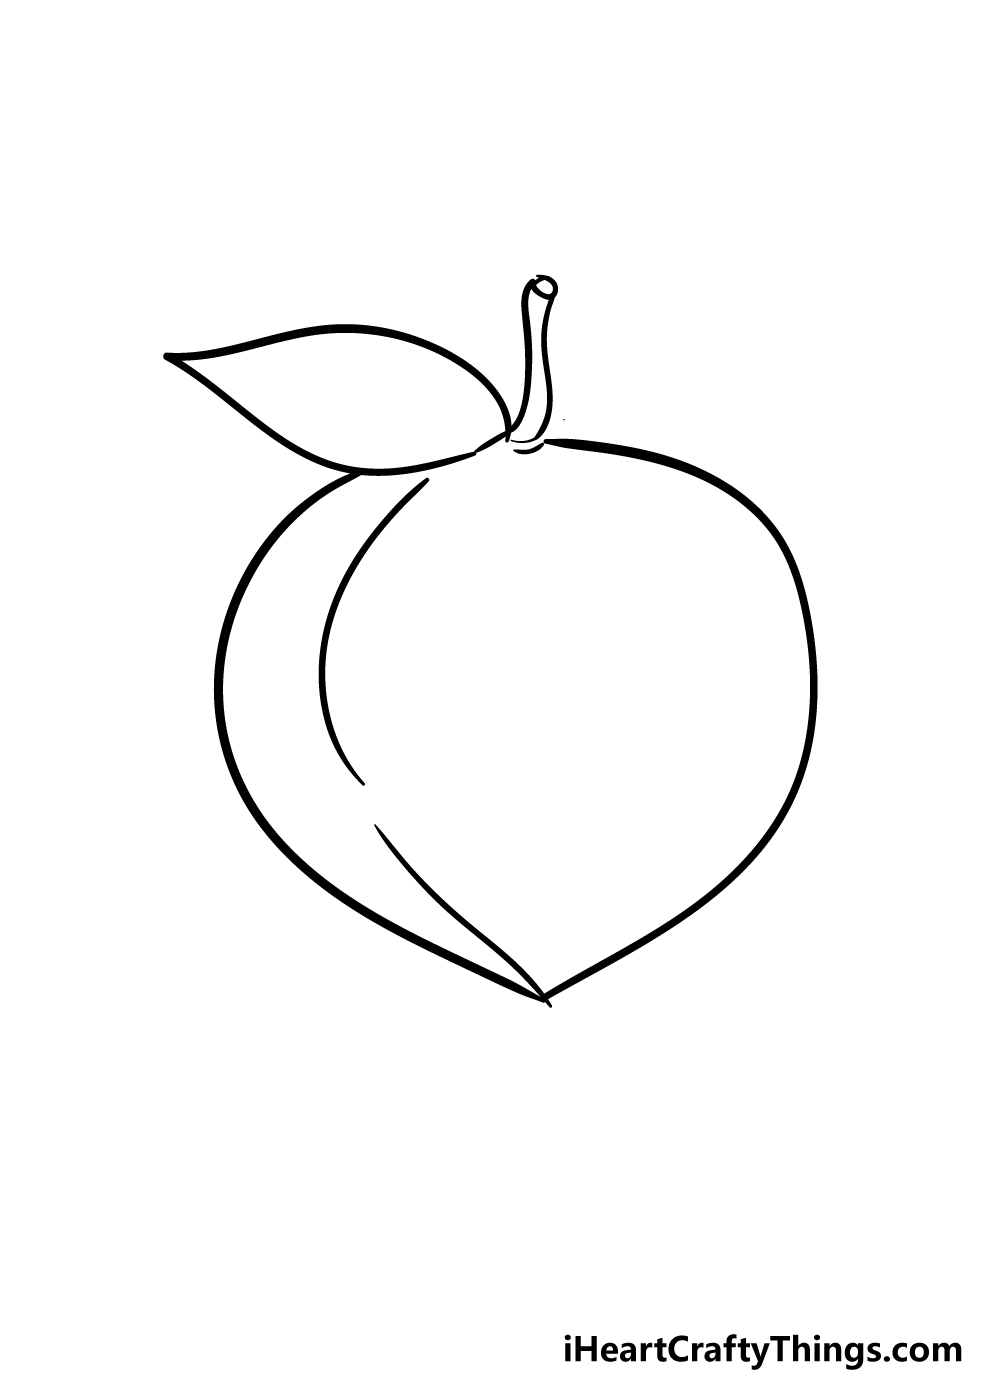
In this part of our guide on how to draw a peach, you can add a stem and the first leaf to your drawing.
The stem will go at the very top of the peach, and is drawn using some fairly short, wavy lines. You can draw a small circle at the top of the stem to show where it was cut off.
Finally, the leaf will be on the left-hand side of the stem and will point out horizontally.
The leaf will have a fairly typical leaf shape that is wider and more rounded at the base but that gets thinner the further down it gets.
Step 4 – Draw another leaf for your peach drawing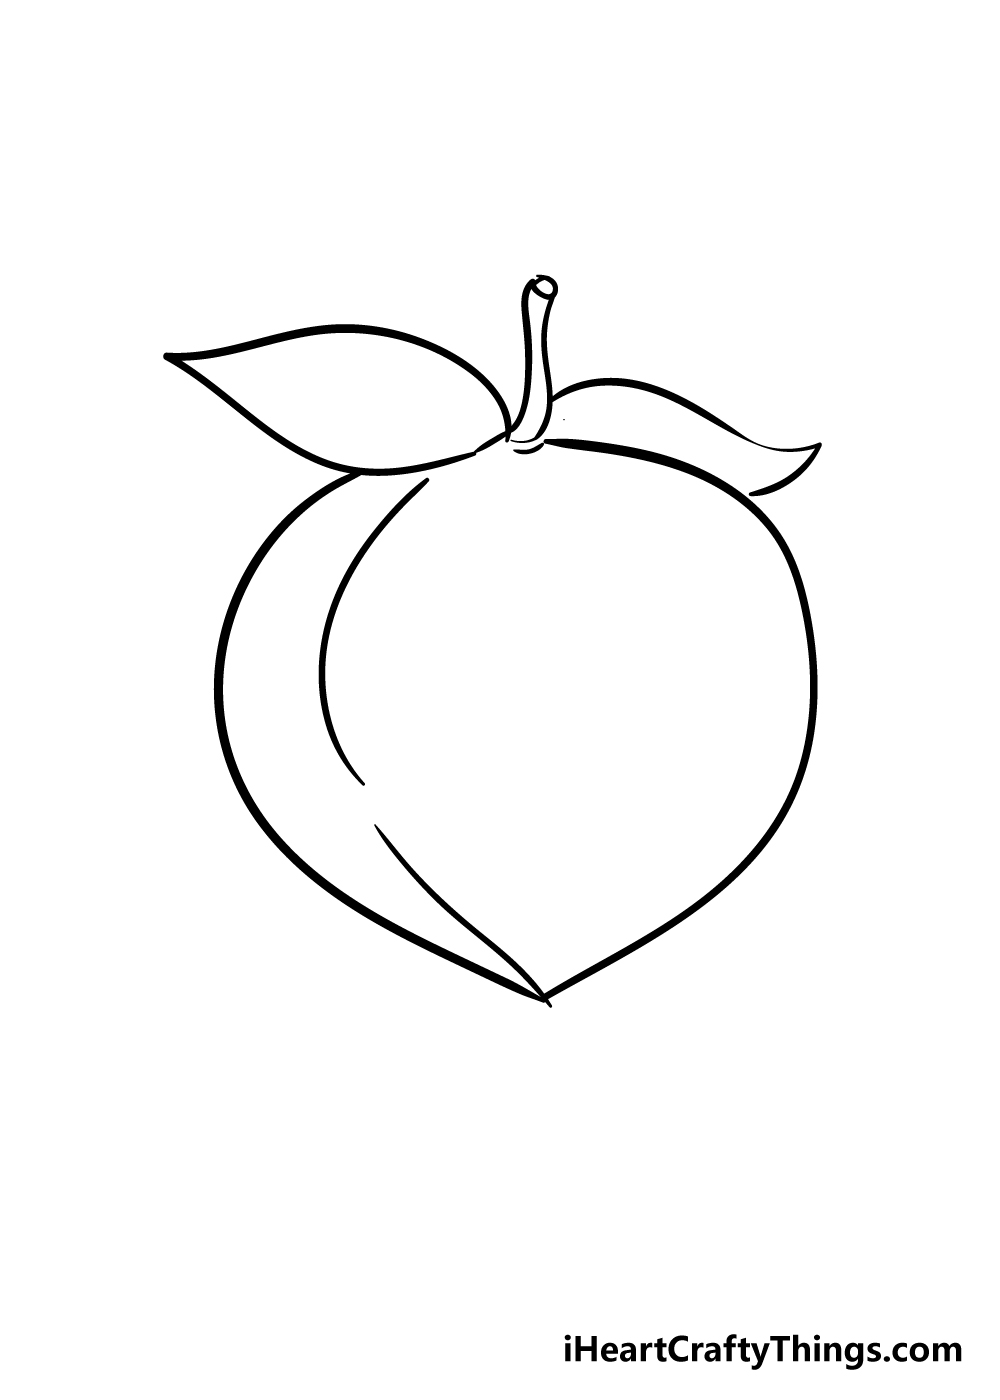
You've already created one leaf for your peach drawing, so in this step you can draw the second one.
This leaf will be on the right-hand side and also extend out horizontally as the previous one did.
This leaf will look a bit different, however, it will be thinner against the peach and will also be drawn so that it is behind the stem.
This is because it is extending backward on the peach. With both leaves drawn, we can move on to some final details!
Step 5 – Add some final details to your peach drawing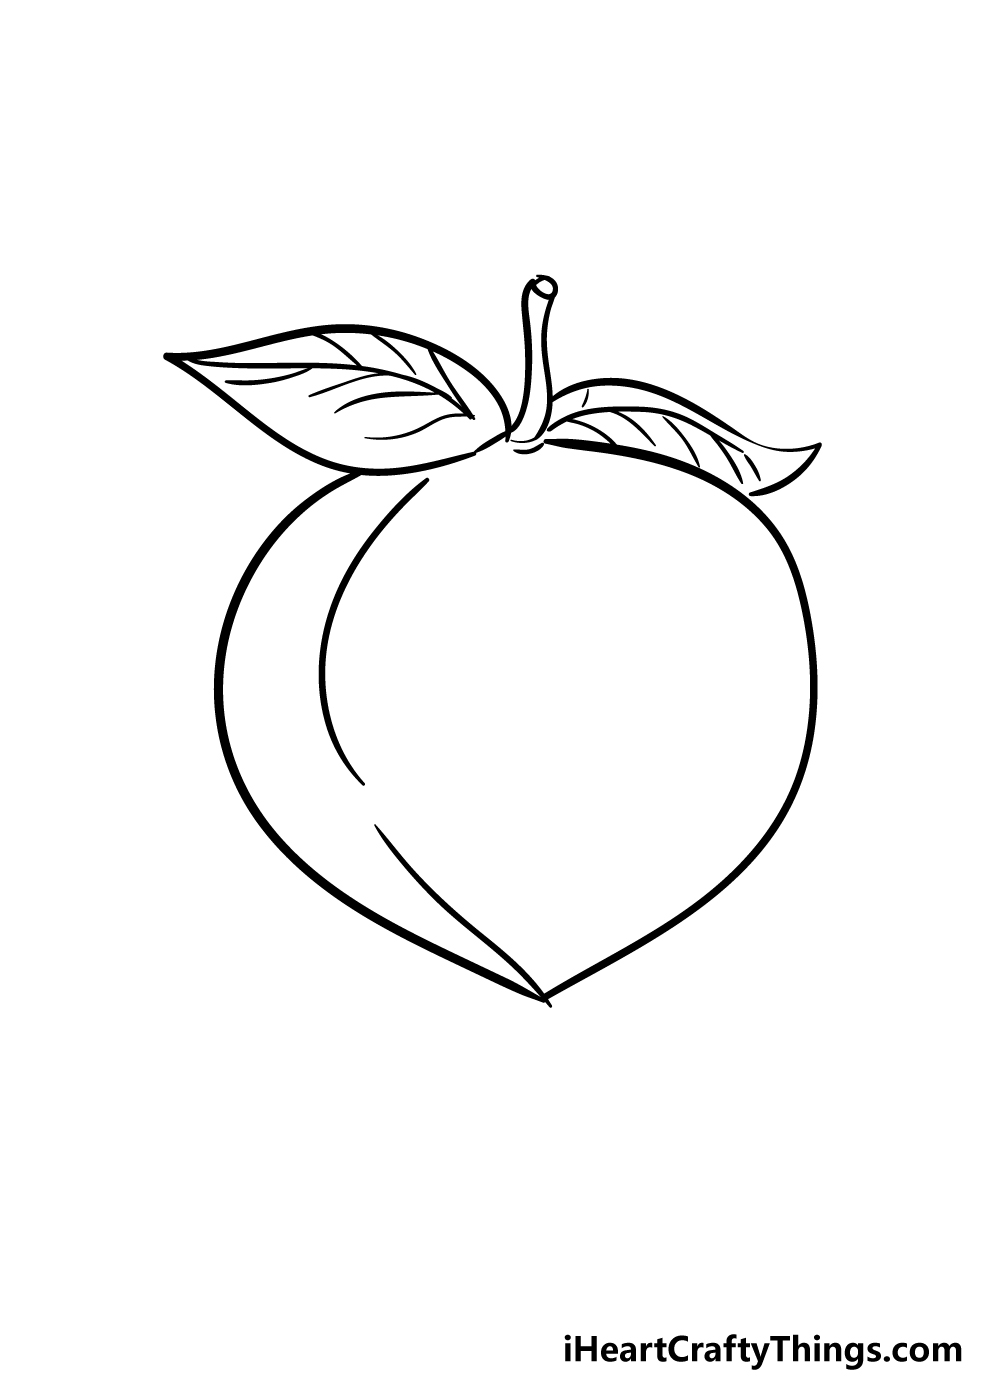
We have just a few more details to add in this guide on how to draw a peach. This is also the step where you can add your own fun details!
First, draw a line along the center of each leaf for the central vein. Then, draw some more slightly curved lines coming off from the central vein for the smaller veins as shown in our reference image.
That finishes off the final details of your peach drawing! Before you move on, be sure to add any extra details that you would like.
You could add a worm burrowing into the peach for one idea, or you could draw it on a plate with some other fruits.
These are just two ideas out of many that you could do, so what kinds of details and background elements will you choose to finish off this peach for the final step?
Step 6 – Finish off your peach drawing with some color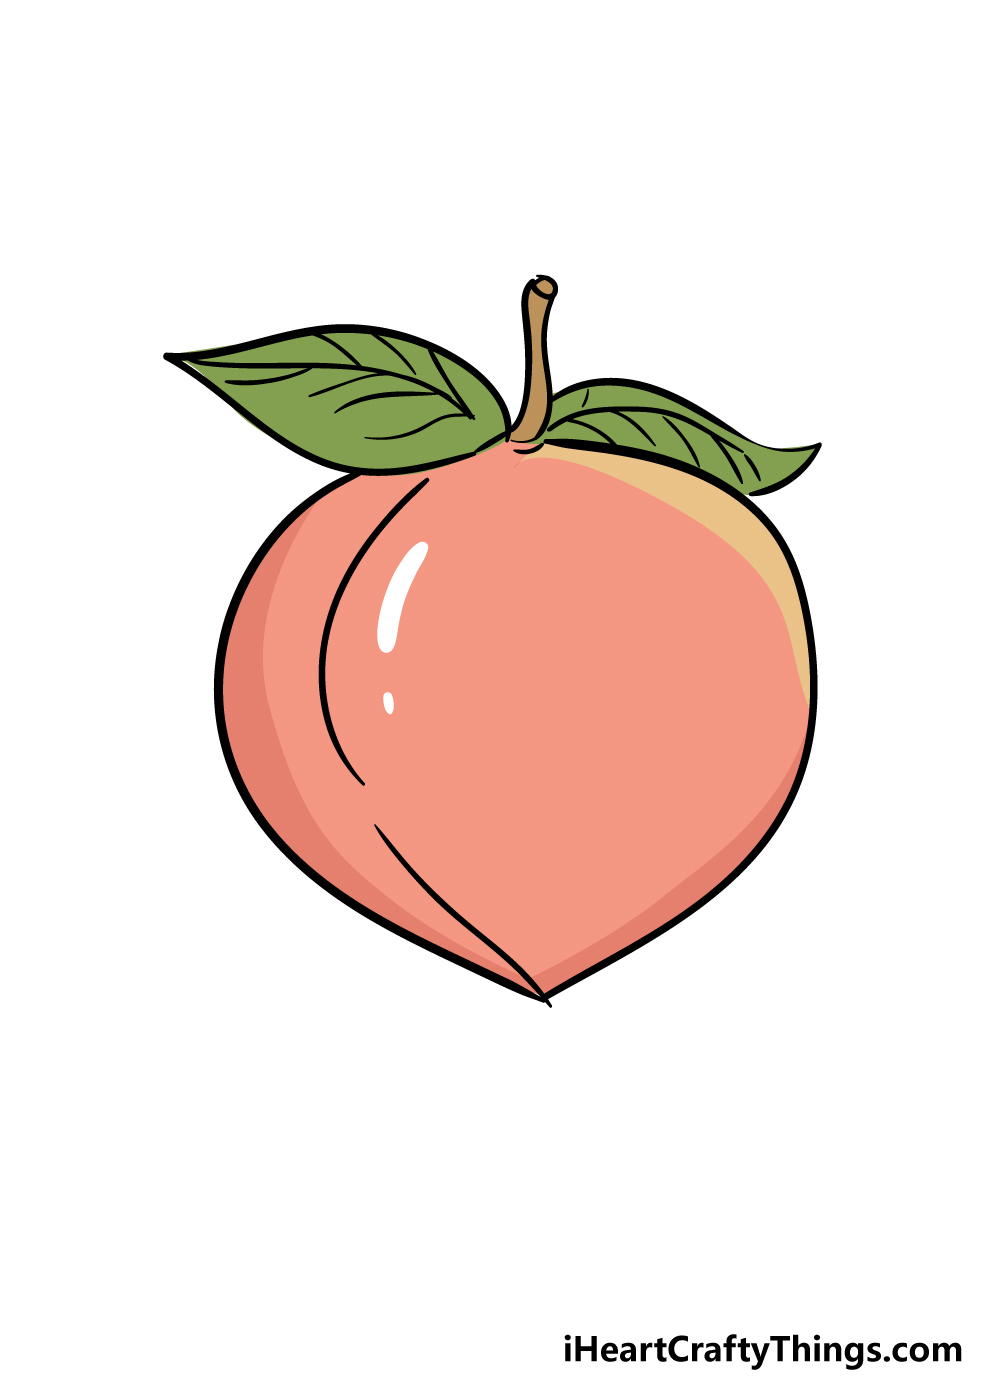
That brings us to the final stage of your peach drawing, and now you get to kick back with some coloring fun!
We used some typical peach coloring of orange shades for the peach and green for the leaves in our reference image, so that gives you a guide if you want some more realistic colors.
You could also go more stylistic with the colors if you prefer, however! Coloring in any extra details or background elements can also be a great way to inject more color to the image!
You can also use some fun art mediums to give your image even more depth.
Painterly mediums such as watercolors and acrylic paints can work wonders for pictures like this, but anything you use will look amazing!
Your Peach Drawing is Complete!
We hope that you had a lot of fun working through this step-by-step guide on how to draw a peach!
Even though a peach has a fairly simple shape, drawing one from memory can prove surprisingly difficult and frustrating.
Our goal with this guide was to show you some steps you can take that will make it much easier and more enjoyable to do.
Now that you have finished this guide, you can take over with your own fun details and additions!
We mentioned a few ideas like drawing other fruits alongside this peach or creating a beautiful background. This is where you can really unleash your creativity and show us what you can do!
We hope that you will visit us on our website, as we have tons of other awesome drawing guides like this one for you to enjoy! We upload new guides constantly too, so be sure to join the fun!
Once you have finished your peach drawing, you can share it on our Facebook and Pinterest pages for us to admire! We can't wait to see what you come up with.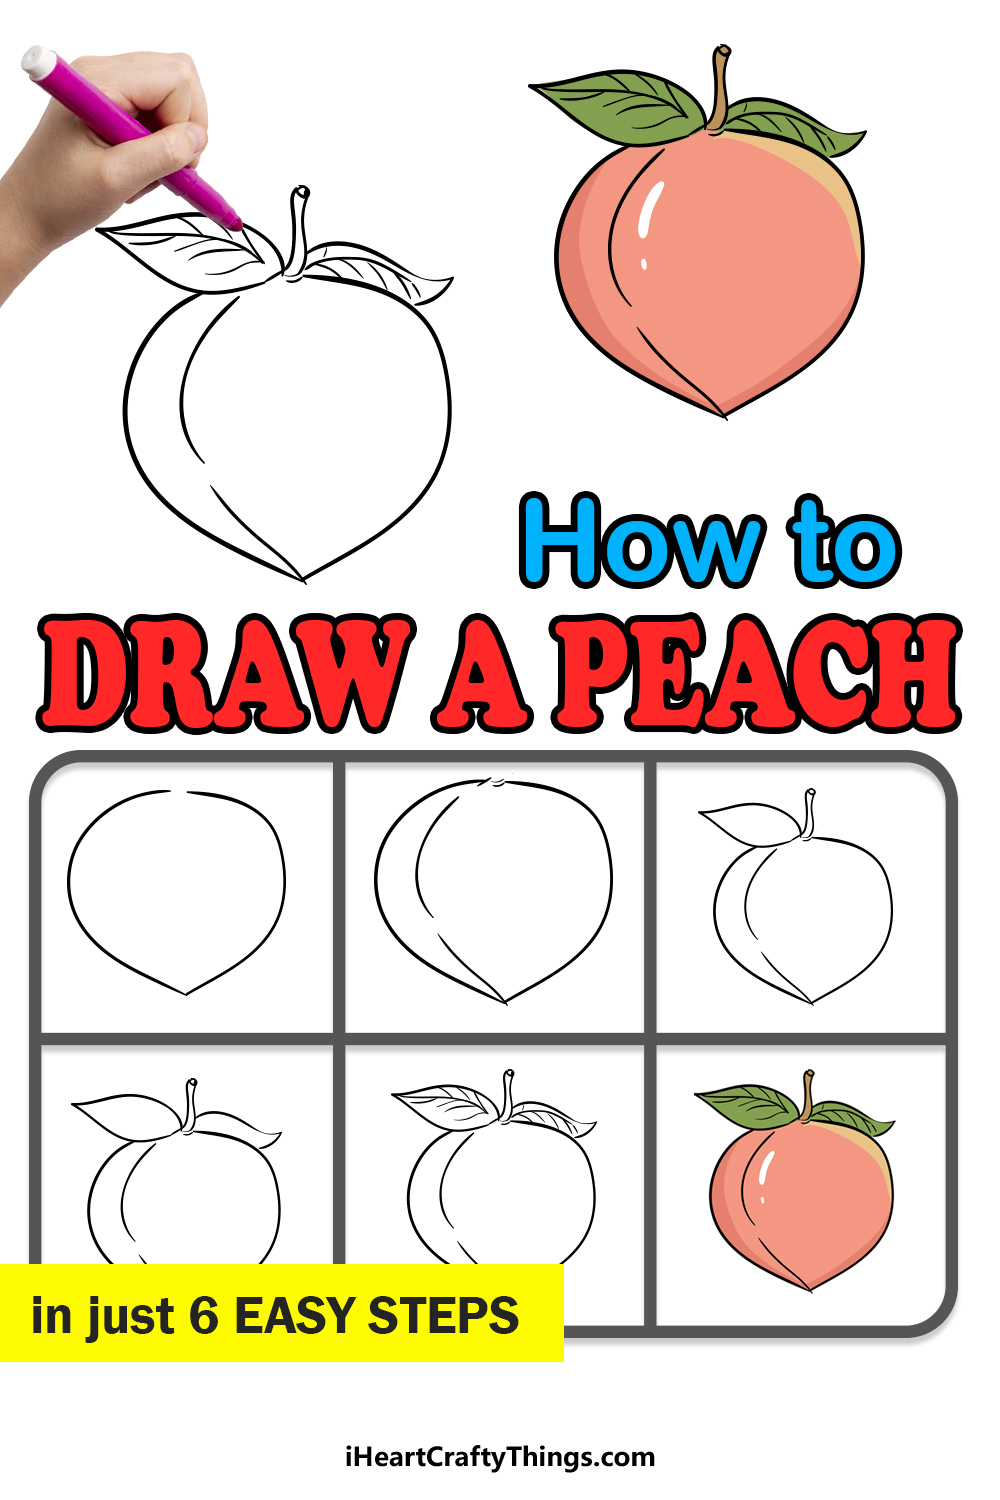
How To Draw A Peach
Source: https://iheartcraftythings.com/peach-drawing.html
Posted by: griffithatted1945.blogspot.com
0 Response to "How To Draw A Peach"
Post a Comment